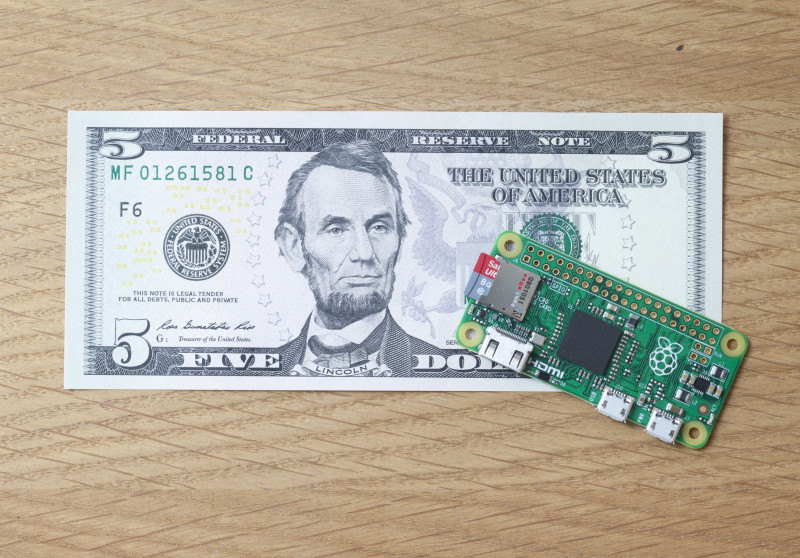
Few days ago Raspberry Pi Foundation announced brand new, ultra small, Raspberry Pi Zero and since then the hype around it is absolutely amazing! Not that they don’t deserve all of it of course! The new Rpi Zero is indeed a big thing in a very small case.
Unfortunately micro size comes with some trade-offs – especially lack of Ethernet port or WiFi and only one (micro) USB port which means an OTG cable is required if you want connect “normal” USB device or USB hub (powered preferably) if you want more than one device. This becomes a problem when you’d like to use Rpi Zero as a remote node in your new IoT project in which you plan to use a USB port for something like a webcam etc – remember one port only! So what you can do if you’re not fancy adding a USB hub and still want both a webcam and a WiFi dongle?
Well, the first thing which came into my mind was – ESP8266 – very cool Wifi-to-serial device. In theory it could be simple – connect ESP8266 to the serial port in Raspberry Pi Zero and start PPPd connection to some other machine on the network. But unfortunately ESP in its whole awesomeness doesn’t provide PPP support (yet?) bummer! 🙁 So I had to think about something else… after heavy googling I found some light in the tunnel and because I couldn’t find a complete solution anywhere I decided to create this article.
The solution (or workaround is more precise): esp-link + socat + slattach.
To make long story short – yes, it’s possible* to have full, normal, ethernet, tcp/ip connection on Raspberry Pi Zero with ESP8266 connected to the RPi’s serial port**. To make it work we need only two applications (2 on the “server” side and 1 on the RPi side) and a special firmware for ESP8266. So here is how it worked for me***:
First of all, a word of compliment is needed for Jean-Claude Wippler who is responsible for a blog http://jeelabs.org and a firmware for ESP8266 called esp-link which made the whole thing possible. ESP-Link firmware is creating a totally transparent bridge between ESP8266’s serial port and WiFI (a telnet port to be precise). More information – the source and everything you’ll need is here: https://github.com/jeelabs/esp-link
So go and grab the firmware, flash it on your ESP8266, configure WiFi and you’re ready to go. (If you don’t know how to do it – go to esp-link homepage on github and read the manual!)
Then only few more steps are required:
- Connect ESP8266 to your Raspberry Pi Zero
- Configure both server and client ends
- Have a fun with your new network connection! 🙂
Part 1) Connecting ESP8266 to Raspberry Pi Zero
This is fairly simple – just follow the schematic – I used this configuration.

- Part 2) Configuring the software
On the server side:
-
Install socat and slattach (example based on debian-ish system):
apt-get update
apt-get upgrade
apt-get install socat slattach
-
Setup
socat TCP:192.168.1.3:23 PTY,link=/tmp/socat.sock
slattach -L -s 115200 -p slip /tmp/socat.sock
ifconfig sl0 192.168.255.2/24 up
echo 1 > /proc/sys/net/ipv4/ip_forward
iptables -t nat -A POSTROUTING -s 192.168.255.0/24 -o eth0 -j SNAT –to-source 192.168.1.250
Above commands needs to be adjusted to your environment – if you follow this manual then especially socat’s TCP socket IP, outgoing interface and –to-source IP address in iptables rule.
On the Raspberry Pi Zero (or any kind of Raspberry or computer with the serial port):
-
Install slattach
apt-get update
apt-get upgrade
apt-get install slattach
-
Setup
slattach -L -s 115200 -p slip /dev/ttyUSB0
ifconfig sl0 192.168.255.2/24 up
route add default gw 192.168.255.1
optional step – check your DNS settings – cat /etc/resolv.conf – and if there’s nothing add this: “nameserver 8.8.8.8” to add google DNS server.
Part 3) Check if everything works
If everything is OK you should be able to ping both ends of the tunnel and have full network connection. THE END 🙂
Part *, **, ***) The truth
So… to be completely honest – this solution is not a very stable WiFi dongle replacement and definitively it requires some tuning. The network speed is extremely slow etc. But some improvements should be quite simple – for example to add permissions to the tunnel for non-root users etc. Another issues which I experienced were: big payloads (like file downloading etc) are problematic, socat on the server side was failing every so often and I needed to start it again,restart slattach and ifup the sl0 interface (the good thing is that Raspberry Pi Zero end stays up and never failed (so far)). Nonetheless it was a joyful journey and I’m pleased that it worked on the end. I’m pretty sure this solution could be explore even more and maybe even in this state it could be useful for someone.
Disclaimer:
Please note that I’m not taking any responsibility for broken parts, Raspberry PI’es or anything else if you decided to use my presented information. This quasi manual requires you to have some basic knowledge about electric circuits, computers, networks etc so please be warned! 🙂